
The Oil painting is an ancient art form that captivates with its depth, richness, and versatility. Aspiring artists often seek oil painting tips to enhance their skills and elevate their artwork. Here, we delve into a range of insights that can transform your approach to this timeless medium.
First and foremost, selecting the right materials is crucial. Invest in high-quality brushes, paints, and canvases. This foundational step cannot be overstated; superior materials lead to superior results. One of the essential oil painting tips is to understand the various types of brushes and their uses. For instance, fan brushes are perfect for blending, while round brushes are ideal for detailed work.
Mastering the art of layering is another pivotal technique. Start with thin layers of paint and gradually build up to thicker layers. This method, known as “fat over lean,” ensures that your painting remains stable and prevents cracking. Additionally, experimenting with different mediums can yield fascinating effects. Linseed oil, for example, can add a glossy finish, while turpentine can thin the paint and create a matte look.
A palette knife is an underrated tool that offers unique textures and finishes. Incorporating a palette knife into your repertoire can add dimension and intrigue to your work. Remember to step back frequently and observe your painting from a distance. This habit helps in assessing the overall composition and making necessary adjustments.
Lastly, patience is paramount. Oil paint dries slowly, allowing ample time for modifications and refinements. Embrace this aspect and let your creativity flow uninterrupted. By incorporating these oil painting tips, you can unlock new levels of artistry and produce works that resonate with depth and emotion.
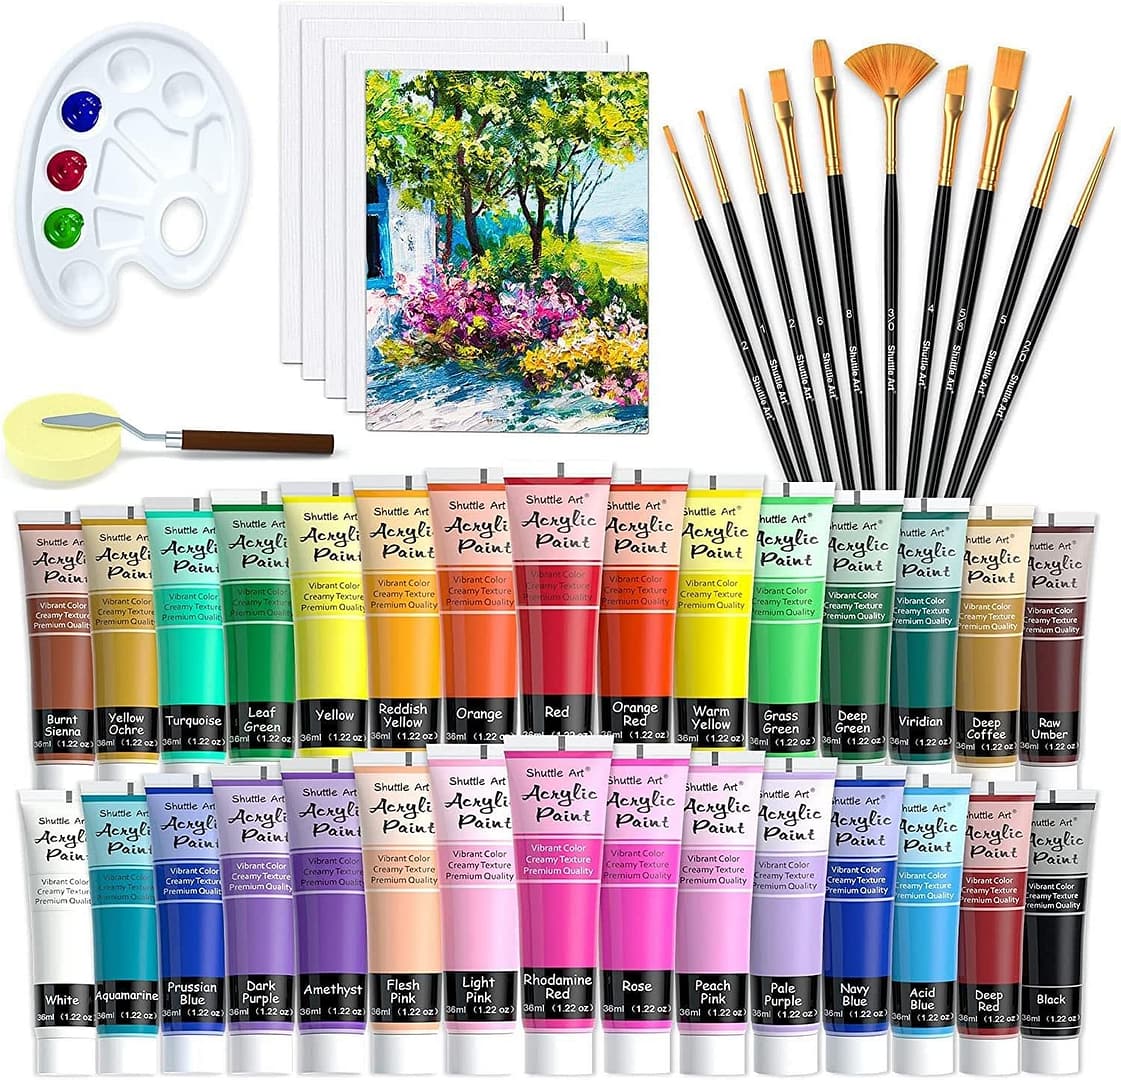
Venturing into the world of acrylic painting can seem like a daunting task for beginners. However, the Fania Art Gallery in Aurora provides an ideal starting point with its curated selection of the best acrylic painting kits for beginners. These kits serve as a gateway to the vibrant and forgiving medium of acrylics, simplifying the learning process and encouraging artistic exploration.
Each kit available at the Fania Art Gallery has been thoughtfully assembled to include everything a novice painter needs to start their journey. High-quality acrylic paints offer a spectrum of colors, and the included brushes are selected for their ability to handle the paint’s texture and versatility effectively. Canvases of various sizes allow beginners to experiment with scale and composition, fostering a sense of confidence and growth in their creative endeavors.
Moreover, these beginner kits often come with a guidebook or access to online tutorials curated by experienced artists. These resources are invaluable, providing step-by-step instructions and insightful tips that demystify the process of acrylic painting. They make art accessible and enjoyable, ensuring that new painters can start creating with a solid foundation of knowledge and technique.
Fania Art Gallery not only sells these kits but also supports the burgeoning artist community. Regular workshops and classes held at the gallery encourage the use of these kits in a communal learning environment, enhancing the educational experience through live demonstrations and peer feedback.
For anyone looking to embark on an artistic journey, the best acrylic painting kits for beginners from Fania Art Gallery offer a comprehensive and enjoyable introduction to the art form, ensuring that every newcomer can achieve success and satisfaction from their first strokes.
Immerse yourself in the captivating realm of Acrylic Painting on Wood at Fania Art Gallery, where artistic expression finds its perfect canvas in the natural grain of wood. Nestled in the heart of the city’s cultural district, this esteemed gallery serves as a haven for both seasoned artists and curious beginners alike.
For those venturing into the world of Acrylic Painting on Wood, a few essential tips can make all the difference. Firstly, ensure your wood surface is properly prepared by sanding it smooth and applying a primer suitable for acrylics. This ensures optimal adhesion and prevents the paint from seeping into the wood grain.
Next, consider experimenting with different brush techniques to achieve varied textures and effects on your wood canvas. From stippling to dry brushing, the possibilities are endless. Additionally, layering translucent glazes can add depth and dimension to your artwork, creating a luminous quality that enhances the natural beauty of the wood.
When it comes to color selection, don’t be afraid to mix your own custom shades using acrylic paints. This allows for greater control over the color palette and ensures your artwork reflects your unique artistic vision.
Finally, don’t forget to protect your finished masterpiece with a suitable sealant or varnish. This not only enhances the vibrancy of the colors but also preserves the integrity of the wood surface for years to come.
With these essential tips in mind, you’re ready to embark on your own creative journey into the world of Acrylic Painting on Wood at Fania Art Gallery. Explore, experiment, and let your imagination soar as you bring your artistic visions to life on this timeless medium.
Acrylic Painting on Wood is an engaging and rewarding endeavor, offering artists a robust medium that combines vibrant colors with a durable surface. This guide delves into the intricacies of painting on wood, providing comprehensive tips and techniques to enhance your artistic process and outcomes.
Before starting your Acrylic Painting on Wood, proper surface preparation is essential. Begin by selecting a suitable wood piece, ensuring it is smooth and free from knots or imperfections that might interfere with the paint application. Sand the surface using fine-grit sandpaper to achieve a uniformly smooth texture. Cleaning the wood to remove dust and debris is crucial; a damp cloth can help in wiping away residual particles.
Priming is a critical step in preparing wood for acrylic paint. Applying a layer of gesso ensures that the paint adheres properly and prevents it from being absorbed into the wood, which can dull colors. Use a wide, flat brush to apply an even coat of gesso, allowing it to dry completely before applying a second coat if necessary. Sand the primed surface lightly to maintain smoothness.
The choice of acrylic paints significantly impacts the final artwork. High-quality acrylics provide better coverage, vibrancy, and durability. Artist-grade paints, though more expensive, offer superior pigmentation compared to student-grade paints. Consider the finish as well—matte, satin, or gloss—depending on the desired outcome of your painting.
Incorporating texture into your Acrylic Painting on Wood can add depth and interest. A palette knife is an excellent tool for this purpose. It allows for the application of thick, textured strokes, creating a three-dimensional effect. Experiment with different knife techniques to achieve various textures and effects in your artwork.
Layering is fundamental in creating rich, complex paintings. Start with a base coat to establish the primary background color. Allow this layer to dry thoroughly before adding subsequent layers. Each new layer can add depth and detail, enhancing the overall composition. Thinner layers dry faster and can be built up gradually, while thicker layers provide more texture.
Effective color blending can elevate your Acrylic Painting on Wood. To blend colors smoothly, work quickly while the paint is still wet. Use a clean, damp brush to merge the edges of different colors seamlessly. For more controlled blending, a dry brush technique or finger blending can be employed, depending on the desired effect.
Adding fine details and intricate lines can bring your painting to life. Use fine-tipped brushes for precision. Acrylic paint pens are also a useful tool for adding sharp lines and details. Working with a steady hand and patience is key to achieving clean, crisp details that enhance the overall artwork.
Dry brushing involves using a brush with very little paint to create a scratchy, textured effect. This technique is excellent for highlighting raised areas or adding a rustic feel to your painting. Dip the brush lightly in paint, wipe off excess on a paper towel, and then brush lightly over the surface to achieve the desired effect.
Glazing involves applying a thin, transparent layer of paint over dry paint. This technique can add depth and richness to colors. Mix acrylic paint with a glazing medium to create the glaze. Apply the glaze in smooth, even strokes, allowing each layer to dry before adding more. This method can also be used to correct color tones and add subtle shading.
A well-thought-out background sets the stage for the main elements of your painting. When working on wood, the natural grain can be incorporated into the design. For a solid background, use broad, even strokes to cover the entire surface. Gradients or washes can add interest and complexity to the background, setting a compelling scene for the foreground elements.
Sealing your Acrylic Painting on Wood protects it from dust, moisture, and UV damage. A clear acrylic sealer, available in matte, satin, or gloss finishes, preserves the vibrancy and integrity of your artwork. Apply the sealer in thin, even coats, allowing each layer to dry thoroughly before applying the next. This final step ensures longevity and durability.
Incorporating other media can add unique elements to your acrylic painting. Consider adding collage elements, using ink, pastels, or even metallic leaf to enhance your artwork. Mixed media can bring new textures, colors, and dimensions, offering a broader range of artistic expression.
Common issues in Acrylic Painting on Wood include paint cracking, uneven texture, and color fading. To avoid cracking, ensure each layer is dry before adding the next and avoid applying paint too thickly. Uneven texture can be managed by sanding between layers and using consistent brush strokes. To prevent fading, always use high-quality paints and a UV-protective sealer.
Like any skill, proficiency in Acrylic Painting on Wood comes with practice. Regularly challenge yourself with new techniques and projects to expand your skill set. Keep a sketchbook or a collection of small wood pieces for practice and experimentation. Over time, you’ll develop your unique style and gain confidence in your abilities.
By following these comprehensive tips, artists can master the art of Acrylic Painting on Wood, creating beautiful, durable works that showcase their creativity and technical skill. From preparation to final sealing, each step is crucial in achieving a professional and lasting finish.